
High Speed Vertical Jigging Technique
High speed vertical jigging can be a tiresome fishing technique. It involves letting a heavy jig drop a couple hundred feet down to the ocean floor and then twitching and pausing quickly all the way up. The jig is designed to minimize the time the jig spends in a descent. Vertical jigs are designed to mimic a baitfish fleeing up the water column, so the more time the jig spends going up, the more likely it is to get a bite.
In vertical jigging, the line must always be taut. A slack line could cause a missed hookset, or no strike at all because the jig wouldn’t be moving in the way that it was designed to attract fish. When the line is taut and the retrieve is fast, the jig is darting erratically all the way up and becomes irresistible to those pelagics in the middle of the water column.
When fish hunt, the strike changes based on the baitfish’s behavior. If the bait is lazy and falling, like it is in slow pitch jigging, a fish will strike lightly because it doesn’t need to be so aggressive to catch that type of baitfish. In high speed vertical jigging, the strike is hard because the jig looks like a fast and healthy baitfish trying to get away. This type of predatory strike must be fast and hard to be succeed.
Target Species for Speed Jigging
Anglers using a high speed vertical jigging technique are often targeting pelagics like tuna, wahoo, or kingfish. These fish are in the middle of the water column and strike as a fast moving jig passes nearby. These fish may be caught a few feet above the depth you see on the fish finder because they may follow the jig upwards before striking.
Fishermen can also target bottom dwellers like snapper and grouper with speed jigging. These species are caught less often because they’re frequently caught in the bottom 30-50 ft of water, and the jig simply doesn’t spend that much time in that portion of the water column. Pelagics move through a much wider vertical range of water, so the jig spends more time in that range.
Speed jigging can target pelagics year round. High speed vertical jigging is normally done near a wreck, reef, ledges, and rocks although typically beside it, not directly over it. These areas provide structure for baitfish to hide, and the pelagics hang around near it because of the likelihood of food.
Speed jigging can also be done near humps and faster current waters such as the Gulf Stream. Pelagics tend to be active in these types of waters. When jigging in these areas, the jigs will usually have to a bit heavier than normal to minimize the amount of scope in your line.
Speed Jigging Rods
A jigging rod is usually a heavy power, fast action rod. When choosing a rod, you should consider the lure rating. The higher the lure rating is, the heavier the power of the rod. However, you don’t want to go so heavy that the rod fails to help you work the jig properly. Make sure you estimate your most common sized jig and choose a rod with a lure rating around that estimate.
The fast action of the rod helps you get to the backbone of the rod faster. Just enough flex in the tip to allow a twitch and pause motion to work properly, without so much flex that the line gets too much slack. Generally this is a fast or moderate fast action jigging rod.
When it comes to choosing between a spinning or a conventional rod, either one will work well. There is not nearly as much focus on the freespool part of the motion as there is in slow pitch jigging. A spinning setup is much easier for beginners to use and has plenty of capability when it comes to drag and gear ratio. Novice anglers will choose a spinning setup when getting into speed jigging.

The butt end of the rod can be a split grip or a full grip. Typically split grip is chosen for speed jigging when the angler wants to make the rod more lightweight, however it’s unlikely that fishermen will speed jig for hours on end. Because of this, the lightweight grip is less important for speed jigging than it is for slow pitch jigging.
You’ll notice that with most fishing techniques done from a boat, the target rod length is between 5’9” and 7’2”. This is because it gives just enough length to hang over the side of the boat, without being so long that you can’t store it beneath the gunwales of the boat. Some anglers who plan to also use their jigging rods as a pitch rod, will lean towards the 7 foot length.
Keep in mind that speed jigging rods tend to be very versatile. As long as you choose one that is fast action (or moderately fast) and the appropriate power rating for your lure and main line, you’ll have a rod that works for vertical jigging.
Speed Jigging Reels
Several different types of reels can work for speed jigging. You can use a low gear ratio conventional reel with success, although you may find it challenging if the reel is too wide and you have to levelwind while speed jigging.
Spinning reels are great for speed jigging. They have some serious power behind them and are so easy to use. No need to worry about levelwinding and any beginner can pick one up and use it.
As far as gear ratio goes, low or high will work. Low gear ratio gives you more torque which can be helpful to pull up a hard fighting grouper from the bottom. High gear ratio typically has a faster retrieve rate which helps get fish to the boat faster. Most anglers will use their vertical speed jigging setup for more than one method of fishing, and it’s typically the other method of fishing that drives the gear ratio choice.
For example, if I plan to mostly use the setup for bottom fishing, I would buy the low gear ratio because of how frequently I’d expect to need the extra power to pull up a big grouper. If I plan to mostly use the setup as an offshore pitch rod, I’d lean towards the higher gear ratio to get a faster retrieve rate.
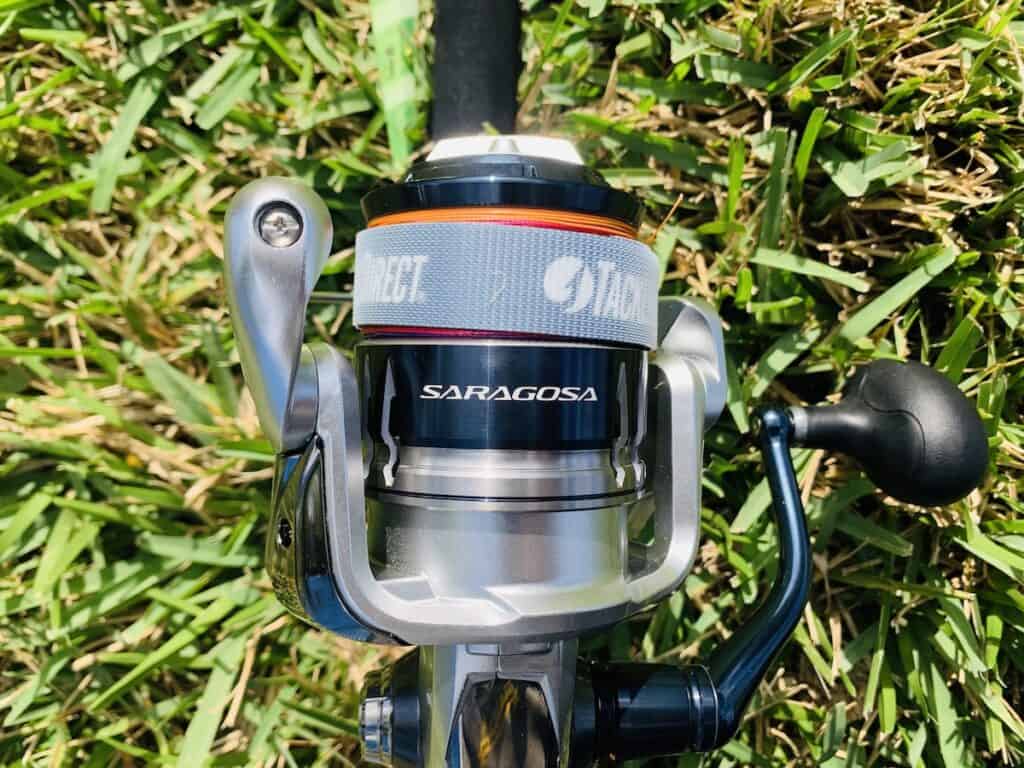
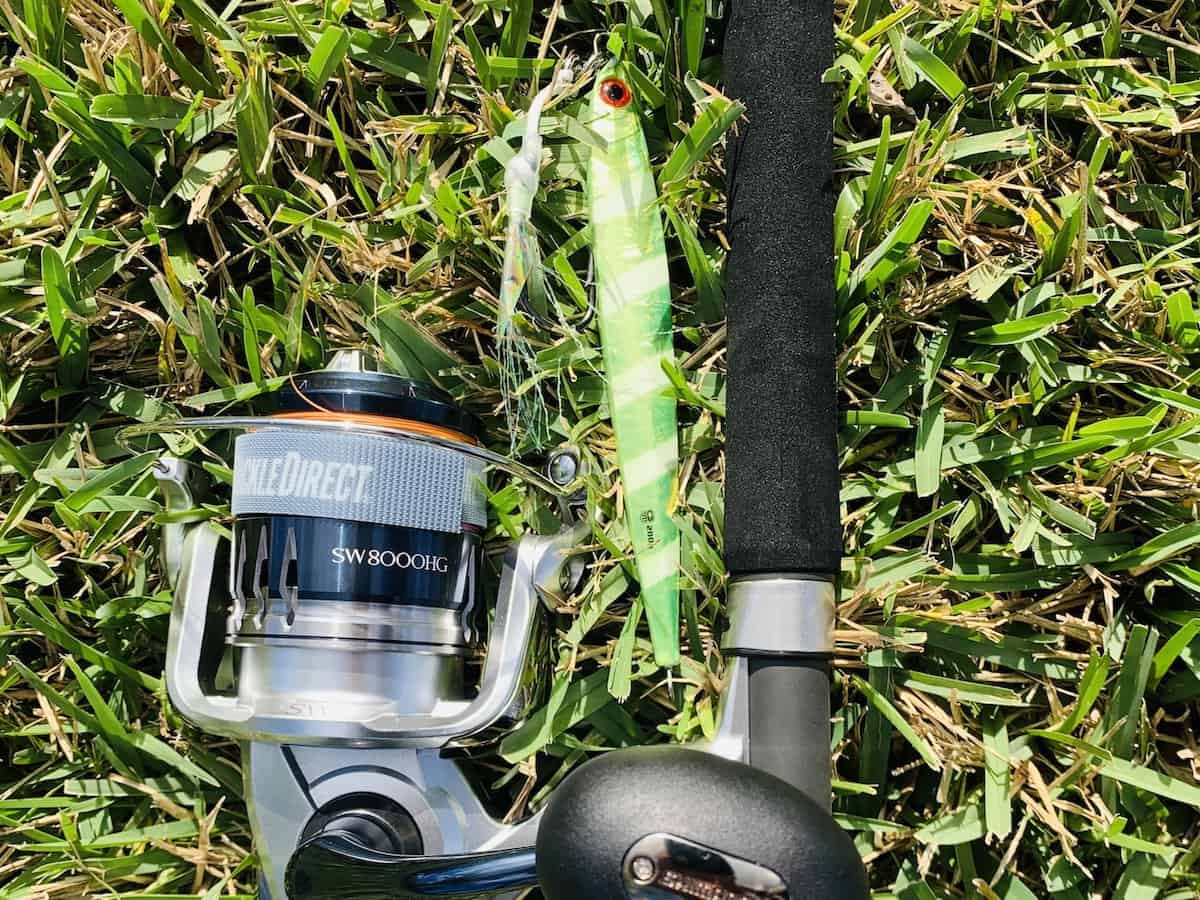
My jigging setup consists of a Shimano Terez rod and a Shimano Saragosa SW8000HG spinning reel. I mostly use my setup for speed jigging and sight casting to cobia and mahi. These links will take you to the product page on Tackle Direct’s website.
Jigging Main Line
Vertical speed jigging requires the use of strong line. Typically the lowest line strength you’d use is 40 lbs and some go up as high as 80 to 100 lb test. Your line strength choice must be considered when choosing a rod and reel to make sure you have enough line capacity to reach the ocean floor in your target fishing location.
Jigging requires high line capacity because of the need to reach bottom, and also requires the use of high sensitivity line. A sensitive main line, like braid, allows the angler to feel bottom, feel contact with underwater structure, and feel strikes. Braid also has a thin diameter which gives you more line capacity than monofilament of the same line strength. My article Is Braid or Mono Best for Jigging? covers the differences in full detail.
My Shimano Saragosa SW8000HG is spooled with over 300 yards of 40 lb test braided line. This will work great as I’ll usually be jigging in waters around 200 feet deep or less. Using metered line, like the PowerPro Depth Hunter gives you some idea of how much line you’ve let out or reeled in because it changes color every 25 feet.
Jigging Leader Line
The use of braid as a main line drives the need for a leader line. Braid has no stretch and very little abrasion resistance. The lack of stretch can be an issue when you need shock absorption from a hard strike. The lack of abrasion resistance can be an issue when jigging around rough structure such as rocks and reefs and wrecks. Braided line can break off if it makes contact with rough surfaces and this can obviously cause the loss of an expensive jig, or worse, the loss of a big fish.
The leader can be monofilament or fluorocarbon. Fluorocarbon is typically only used when you need an extremely low visibility leader, like when presenting live bait or working in very clear water. Speed jigging with a heavy vertical jig around structure does not necessitate fluorocarbon.
Monofilament is highly abrasion resistant and also very cheap. When speed jigging, a longer leader is best. I like to use about a 30 ft leader and will usually opt for heavier line strength in the leader in comparison to the main line. You’ll need to use a strong and low profile knot like an FG knot of an Alberto knot with a long leader because the chances are good that you’ll wind it onto your spool at some point.
I like to use heavier line strength, like 80 lb test, for my own piece of mind when jigging around structure that I know will wreak havoc on the line. I notice that the downside of having a thick and visible leader doesn’t seem to matter to the fish when speed jigging. To learn more about jigging leaders, read my article Jigging Leaders: Why You Need One and How to Choose It.
High Speed Vertical Jigs
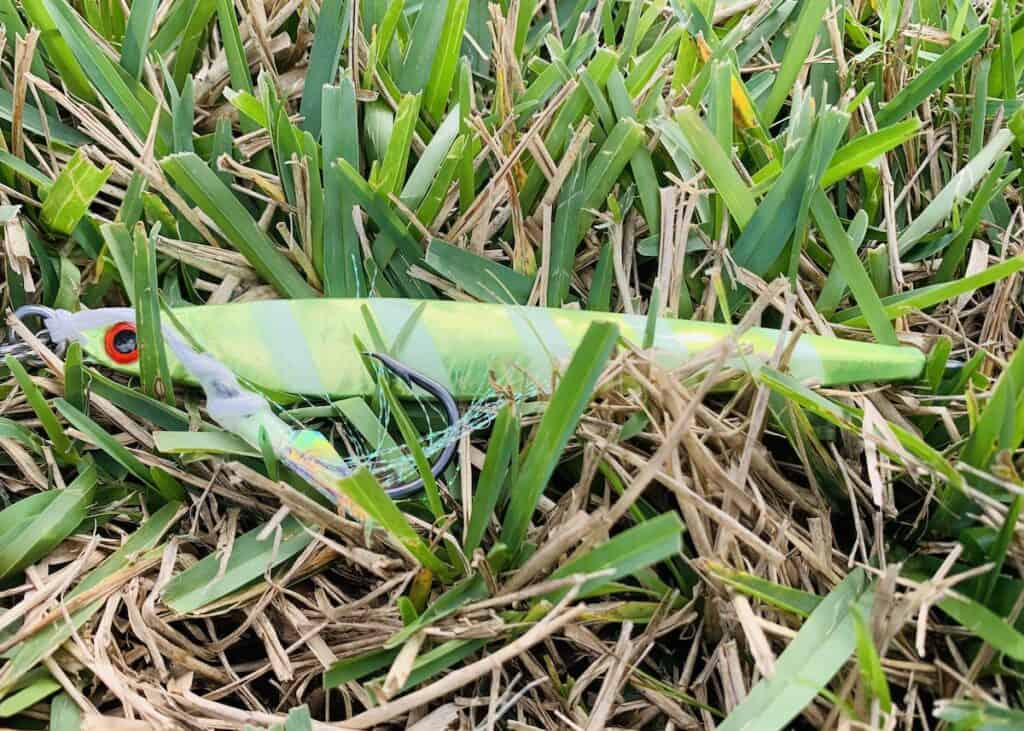
Vertical jigs are heavy metal lures with dangling assist hooks. They are normally long and slender to help get to the bottom of the ocean quickly. They are painted flashy colors so they can reflect light and attract fish in the deepest, darkest parts of the ocean.
These jigs are designed to show their action during the retrieve process. The angler will twitch and/or jerk the rod up while retrieving the line, then pause for a moment and continue the pattern. When this is done properly, the jig can be seen darting back and forth all the way up the water column.
My article on Vertical Jigs covers the details of jigs, how to work them, and even how to rig them properly.
Rigging for Vertical Jigging
Rigging a vertical speed jig is quite simple, especially if it comes pre-rigged. A lot of speed jigs come with a single heavy gauge assist hook attached to a solid ring that is then attached to a split ring which is attached to the jig eyelet. When this is the case, all you need to do is attach your leader line to the solid ring with the hook using a palomar or clinch knot.
When you have a jig that’s not pre-rigged, or its time to change the hook, you can buy pre-made single assist hooks, such as the OTI Raptor Assist Glow Hook, and attach it to the jig with the split ring. To do this, you’ll need a pair of split ring pliers. My go-to pliers are the Shimano Power Pliers.
Hooks for Vertical Jigs
Vertical jigs most frequently use single hooks attached at the top eyelet. These single hooks are heavy gauge and are rigged with enough cord for the bottom of the hook to reach about the middle point of the jig. The heavy gauge hook is necessary to because it is often the only location the fish is hook and it’s strong enough not to bend under the load of a hard strike.
Some anglers will add an additional single heavy gauge hook to the bottom eyelet. To me, this is always ideal because I wouldn’t want to ever miss a catch because the fish didn’t bite far enough up the jig to reach the hook. When attaching an additional hook here, you’ll do it the same way: single hook attached to a solid ring which is attached to a split ring which is attached to the bottom eyelet.
Some jigging hooks have teaser and flash material. This is not essential but could help improve your odds of attracting a fish. My only recommendation about using hooks like this, is that you are careful not to overload the jig with too much “stuff” which could affect the action.
I hope this article helped you learn about high speed vertical jigging. Tight lines, y’all!
Recent Posts
Fat Cow Jig Strips: The Ultimate Bucktail Jig Upgrade for Surf Fishing
As discussed in my previous article, "Surf Fishing with Bucktail Jigs: Ultimate Guide for Beach Anglers," bucktail jigs are a staple in any surf angler's tackle box, offering a versatile way to catch...
In my previous article, "Surf Fishing with Bucktail Jigs: Ultimate Guide for Beach Anglers," I introduced you to the bucktail jig and discussed how versatile of a lure it is for catching a wide range...