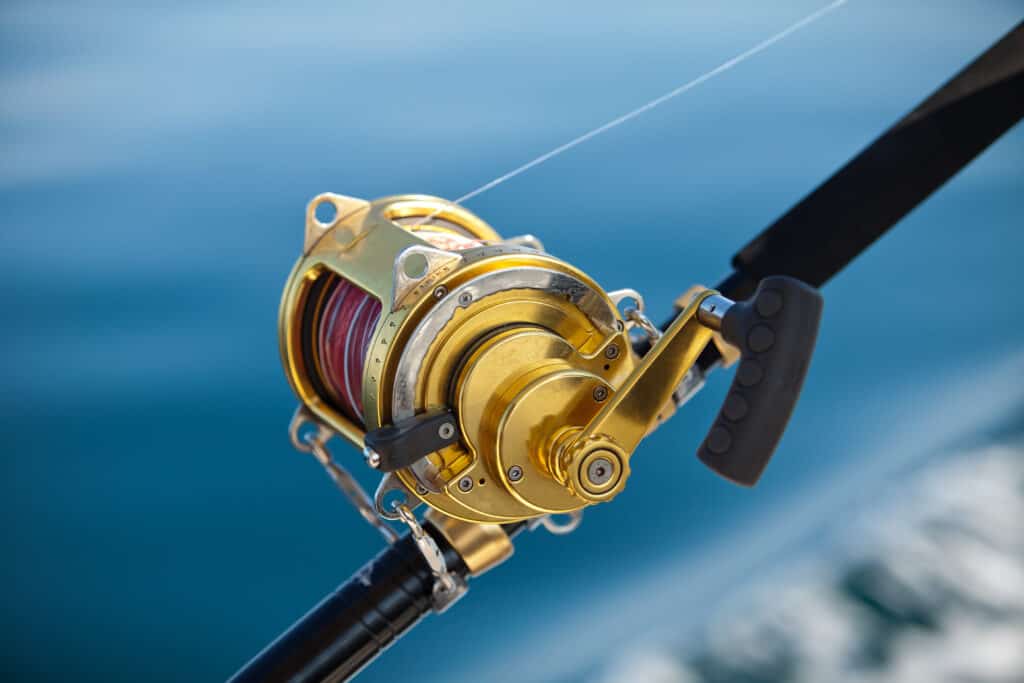
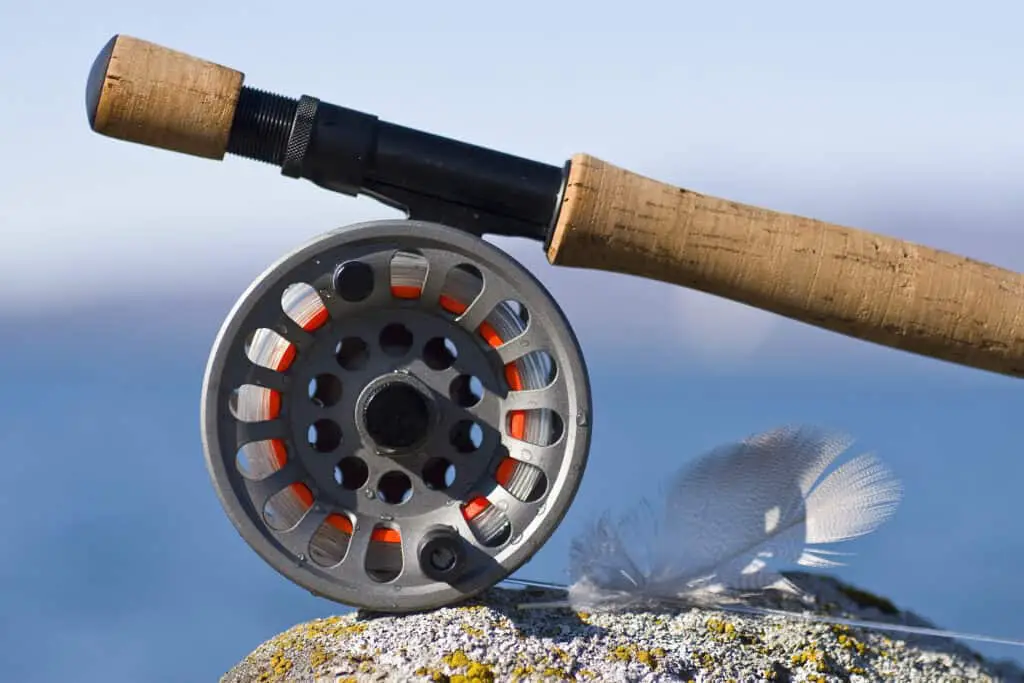
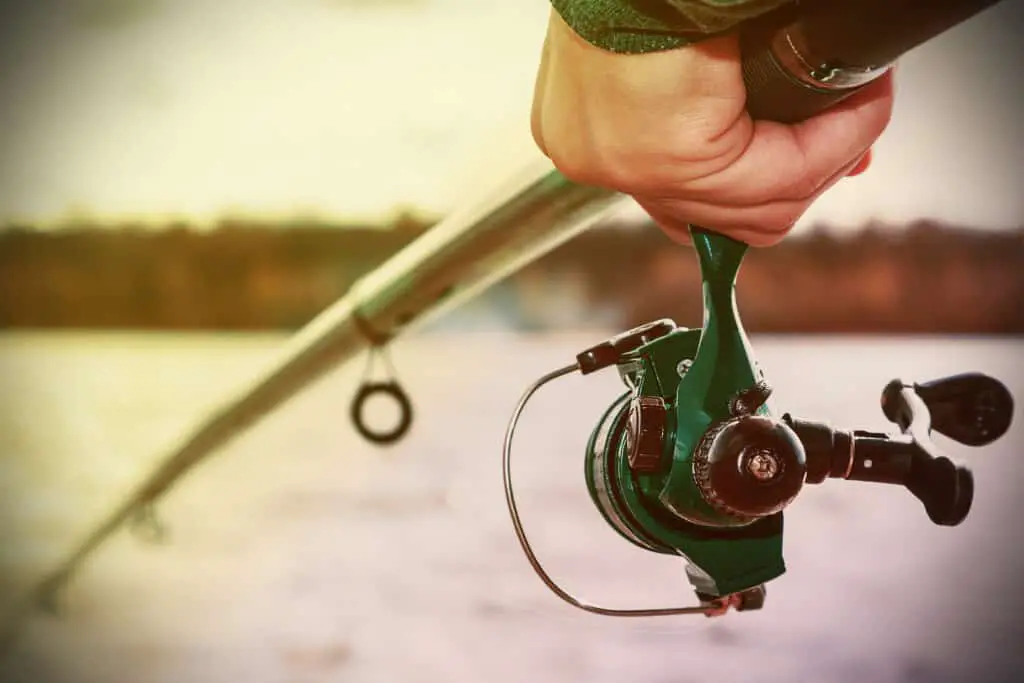
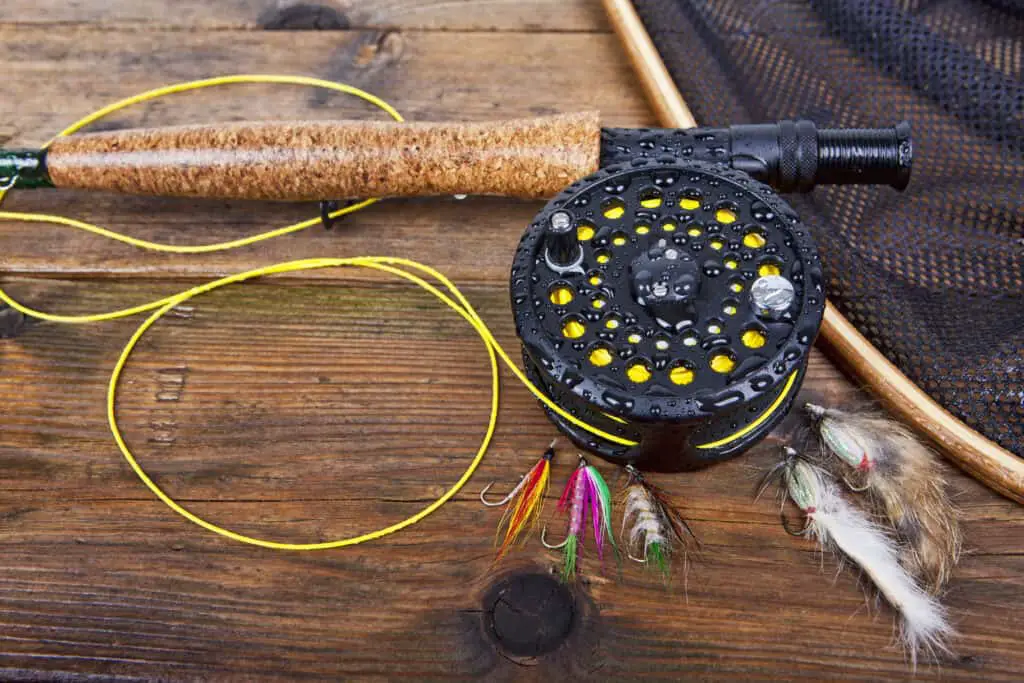
Fishing is definitely one of humanity's favorite sports and is vastly enjoyed by many avid outdoorsmen. It does take skill to be a fisherman, however; you must also know how to take care of your gear the best you can. Here are a few ways you can best take care of your fishing reel and rod!
One of the first steps in taking care of a fishing reel is to clean and oil (or lubricate) it. A fishing reel should be lubricated every 5-7 uses at least, especially if the fishing rod is being used frequently. Likewise, the reel will need to be cleaned every 5 or so uses at least.
There is quite a bit you ought to know about taking care of a fishing reel, but learning about this will be worth it if that means you'll have a fishing reel and rod that are in good shape. Read on to learn a bit more about caring and cleaning for your reel, as well as a few other tips!
Caring For Your Fishing Reel
To be an expert fisherman (or woman) you will have to take good care of your fishing reel because you won't get far with a reel that doesn't work properly. As mentioned above, two of the most important aspects of reel care are regular cleaning and regular lubricating.
Before you begin, keep in mind that not all fishing reels are created equal and neither are fishing areas. For example, saltwater and freshwater exposures will do different kinds of damage to a fishing reel. Saltwater is much more corrosive and will leave more residue.
Additionally, you will need to take the quality of your reel into account. If your reel is older and lower-quality, it probably won't be very difficult to clean and take care of. However, if you have a newer and more sophisticated model, it will be much more difficult to disassemble and clean. But if you are up for the challenge, there shouldn't be a problem as long as you're careful.
Before you start to take the reel apart, be sure to tape the line off. Secure the line to the rod with a strip of masking tape or else strip it off completely. If you fail to do this before you take the reel off and apart, you will entangle the line with the spool and the frame.
You will have to dismantle your reel to clean it, so be extra careful. Start by removing the wire coil from the reel. You can do this by unscrewing the central screw. Check it carefully when you take it out (make sure there's no residue or damage, etc.). If you are concerned about all the small pieces when you disassemble the reel, try putting numbered pieces of masking tape on each piece. This will help you to keep track of the pieces and know what order to put them back in.
After you have removed the coil, brush it and the reel off to rid them of any residue. If there are any sort of big chunks in either piece, you can use tweezers to remove them. Once the reel is properly disassembled, you can submerge it and the coil in a bowl of distilled water. Let it soak for at least a few hours before drying it off. Make sure you are thorough when drying. Use a microfiber cloth or paper towel to dry all the water off.
For especially stubborn residue and gunk, you can use a toothbrush or other small brush to scrub the dirty spots as best you can. It is advisable to use an all-purpose cleaner such as a boat cleaner or something similar. This will be the most effective at getting all the gunk off of the reel. Make sure to dry each piece thoroughly after cleaning and rinsing. Failure to do so will result in a rusty reel that will need to be replaced.

Carefully lubricate the reel, especially around the central shaft around the base. You should also make sure all the moving parts of the reel get a good amount of oil. The ball joint in particular will need plenty of attention since it is one of the most used parts during fishing. Additionally, make sure you thoroughly lubricate all the inner mechanisms and the handle so that nothing breaks and everything stays in working condition. Something like WD-40 is an excellent choice for this.
Once you have lubricated all the moving parts of the reel and thoroughly dried the water/cleaner off of it, you can start putting it back together. Make sure you put it back together in the same order you took it apart (this is where taping and numbering the parts comes in handy). If you are not confident that you can dismantle and reassemble your fishing reel, it might not be a bad idea to ask a fishing expert or a friend for help.
Protecting Your Reel
Cleaning and greasing the fishing reel is important enough, but so is protecting your reel against corrosion. This is especially important if your fishing area of choice is in saltwater. Here are a few ways you can protect your fishing reel.
Dirt and Sand
As said already, saltwater is particularly corrosive to a fishing reel because it will leave a residue that can scratch and damage it. If salty or sandy residue is left on a reel for too long, your reel will soon become inoperable. If you can hear crunching or grinding when you spin the handle, that is an indication that there is sand or something else trapped inside the reel. If this is the case, you need to stop using it right away and get the problem taken care of.
If you happen to drop your fishing reel in the sand or the dirt, you should disassemble it as soon as possible. Once you have taken it apart, go through the same cleaning and lubricating steps as mentioned above. After the cleaning process is over, put it back together and try turning the handle.
If you still hear grinding, that means there is still sand stuck inside the reel and you'll have to rinse it out and clean it all over again. Repeat the cleaning process until you can't see or hear any grit inside the fishing reel. Take extra care not to drop it or let it get scuffed up. Keep in mind that if sand or dirt of any kind is allowed to remain inside the reel for too long (especially while it is being used) it will begin to corrode the inside and soon the whole thing will be impossible to operate.
Water
Saltwater, as mentioned above, is much more corrosive than freshwater (and possibly even sand) because the salt leaves a residue that will slowly corrode and break down the reel's mechanisms over time. If your reel has already been affected by corrosion and you are starting to notice those effects, here's what you should do.
Disassemble the reel carefully, winding the line onto an empty spool and taking the coil out. Make sure all the essential moving parts are removed and sprayed with a solvent to dissolve any remaining oil or grease. Wipe them clean with a cloth or paper towel once you have finished this. Remember to keep the parts in order so reassembly will be easy.
Next, fill a bowl with distilled white vinegar and put all the pieces in (make sure they are completely submerged). Add a teaspoon of baking soda to the vinegar and let it fizz and foam, stirring as it goes. Let the parts soak in this mixture overnight or for at least eight hours so that the vinegar will have a chance to start breaking down the corrosive residue.

After you have allowed the reel to soak for the proper amount of time, remove each piece from the vinegar solution and start cleaning off the residue. It should be falling off or at least be in a softened state so this part shouldn't be difficult. If there are still a few stubborn areas, try scrubbing them off with a toothbrush or very fine steel wool. After you have done so, rinse each part thoroughly and allow it to completely dry off. Finally, reassemble the reel and lubricate all the mechanisms and moving parts. Make sure you always dry the reel after rinsing or cleaning.
If you want to have an added layer of protection for your reel, you can try treating it with Pledge or a similar cleaner. Pledge will not only leave your reel in a squeaky clean state, but it will also make it that much more difficult for the reel to be affected by salty residue. Simply spray the reel parts with Pledge, let it foam a little, then scrub and rinse it all off. It's that easy! If you're finding that some of the corrosion spots just won't come off, it may be time for a new reel or some professional help.
Can Fishing Reels Get Wet?
Fishing reels were definitely built to withstand getting wet, but as mentioned above, saltwater is a whole different story compared to freshwater. Dropping your reel in saltwater versus freshwater has different consequences, so let's talk about those for a minute.
First, keep in mind that different fishing rods and reels were built to withstand different kinds of water. Freshwater reels tend to be built with simpler metals or even simpler components such as plastic and wood. If you drop your fishing reel in freshwater, chances are it will be completely fine with just a quick and thorough wipedown.
The only exception is that wood, paper, or any other soluble component could potentially be damaged by repeated dunks in the water, so just make sure you're handling it with care. Wood especially will slowly start to warp and rot over time if it is constantly a victim of water damage. Dry it off thoroughly and replace the wooden components as often as is necessary.
Saltwater fishing reels and rods are built pretty differently. Because saltwater is tougher and more corrosive to a fishing reel than freshwater, saltwater fishing rods and reels are typically built with heavier, stronger metals and alloys that are more capable of withstanding salty corrosion. Many reels are often coated with protective sealants for added durability.
If your saltwater reel does get wet, your best bet is to follow the above steps in cleaning it and removing corrosive residue. Make sure to clean it thoroughly (at least every five uses) and use Pledge or something similar to give the reel added protection. Try your best to keep the reel dry, but when it does get wet, dry it thoroughly and clean it when you get home. Make sure you are diligent in taking the best possible care of your reel and it will definitely last you a long time.
Common Fishing Reel Repairs

Now that we've addressed corrosion, we need to address something that's just as important: repairs! Obviously, reels will be susceptible to breaking now and then, just like any other gadget. However, there may be something you can do about that!
If you have noticed a problem and the reel is not working well, the first thing you will have to do is take it apart. This is a bit more difficult than you may think because of all the working parts, but if you do it methodically, labeling and organizing the parts along the way, you should be just fine. Next, you'll have to carefully inspect the reel for any potential problems. This means you'll need a well-lit environment and the necessary level of magnification that you need for working with small parts.
There are many potential problems to run into when you're dealing with a reel. Make sure you're up to the challenge before you get started. If you're an expert repairman, this won't be a problem. If you start to get overwhelmed by all the pieces and potential issues, you may want to take the reel to a repair shop. Keep in mind that this could get expensive depending on the issue and the complexity of the rod. However, if you are struggling with the reel and need a major fix, the extra money might be well worth it.
Recent Posts
Fat Cow Jig Strips: The Ultimate Bucktail Jig Upgrade for Surf Fishing
As discussed in my previous article, "Surf Fishing with Bucktail Jigs: Ultimate Guide for Beach Anglers," bucktail jigs are a staple in any surf angler's tackle box, offering a versatile way to catch...
In my previous article, "Surf Fishing with Bucktail Jigs: Ultimate Guide for Beach Anglers," I introduced you to the bucktail jig and discussed how versatile of a lure it is for catching a wide range...

